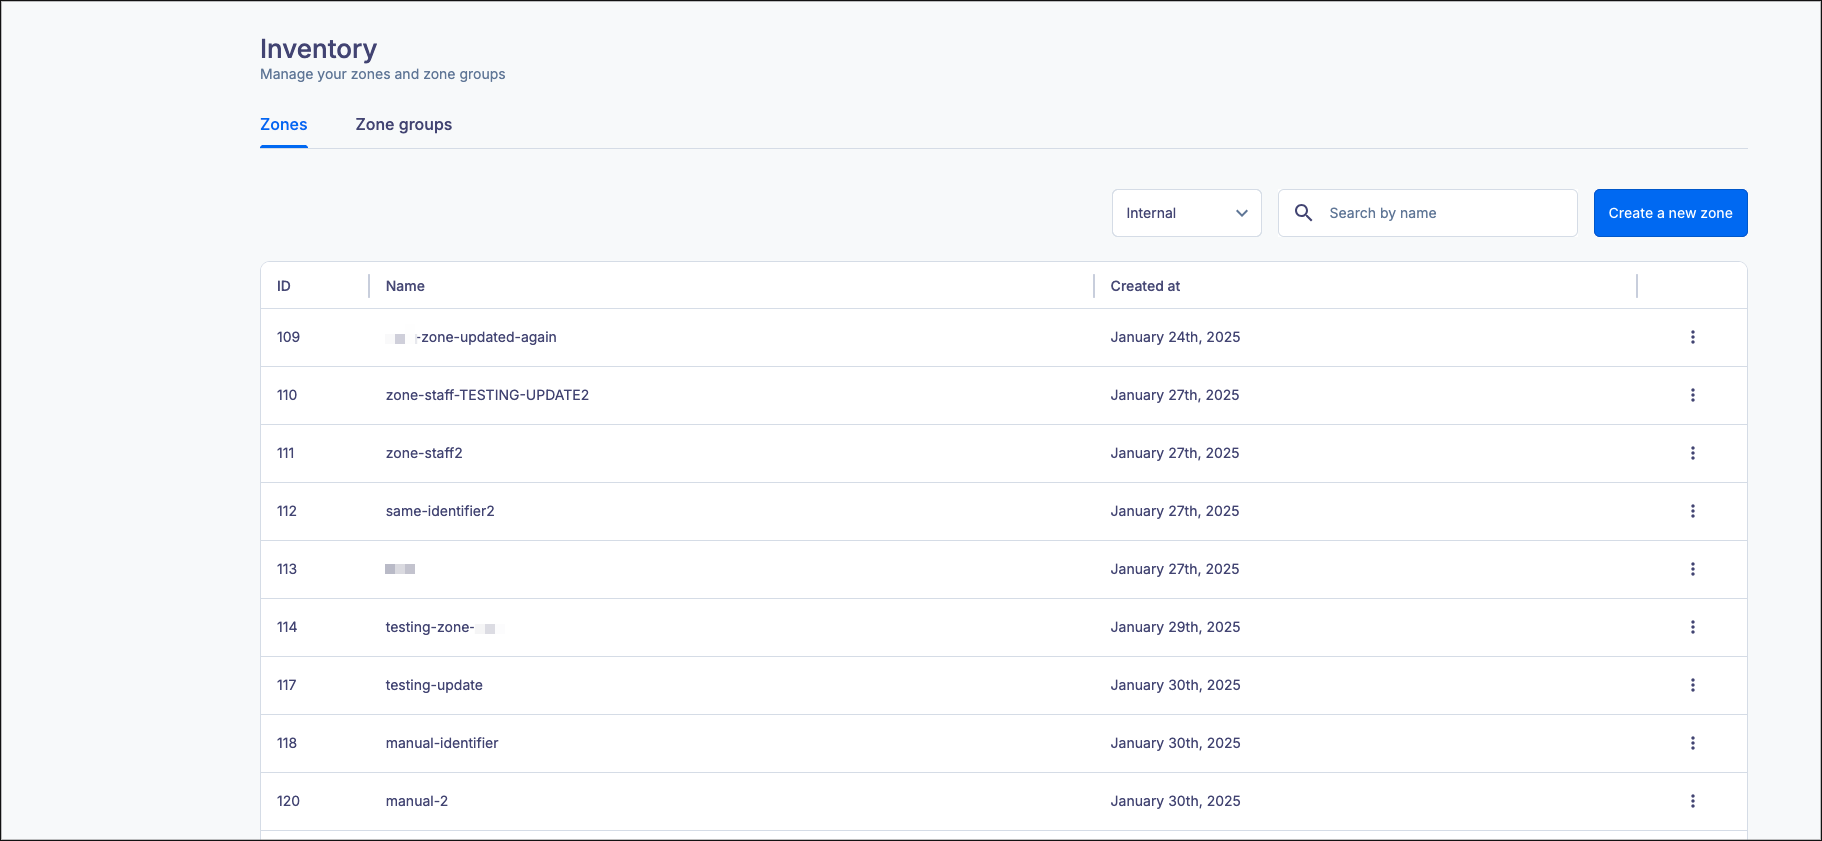
The inventory screen allows you to create zones of inventory that you can assign to campaigns and deals. An inventory zone is a container that can connect your inventory (listeners) to a demand partner or buyer. Your inventory zones can be used in direct advertising, programmatic advertising, or both, allowing you to carve out sections of your programming (streaming or prerecorded) that can be automatically allocated to whichever channels make the most sense for your business.
Zones
This tab allows you to create and modify individual inventory zones, the containers that connect your listeners to a demand partner.
 Create a Zone
To create a new inventory zone, click “Create” in the Inventory screen. You’ll enter the following information to create a zone:

- Name: A descriptive name to be used throughout SoundStack to help you identify the inventory zone
- Example: 181fm
- Identifier: A globally unique identifier assigned to the inventory zone
- This can be the same as the inventory name, but it doesn’t have to be
- If you don’t enter an identifier when creating the zone, one will be automatically generated
- You should make sure the value set here is passed in the zoneId query parameter for any integration with Monetize.
- Example: 181fm
- Timeout: The total number of milliseconds that a request against your inventory is allowed to perform
- This will set the amount of time a zone will wait for a response from an ad network
- A higher timeout may result in short periods of dead air while the ad is retrieved
- A shorter timeout may result in no ads being pulled for that ad break
- The default is 1000 ms
- Example: 1000 to timeout after one second
- This will set the amount of time a zone will wait for a response from an ad network
- Transcoding Timeout: The total number of milliseconds allowed for transcoding an ad
- This will set the amount of time a zone will wait for an ad to finish transcoding
- You may wish to use this to avoid transcoding errors or unusually long creative lengths, which may lead to dead air
- The default is 1000 ms
- Example: 1000 to timeout after one second
- Ad System: The value that will be returned in the VAST Ad System field
- This will be the ad system that you want to use this inventory with
- Example: SoundStack
- Skip inline error: Check this to omit the <Error> element of an <InLine> VAST
- Some publishers have issues parsing the <Error> element, this option allows you to avoid these issues by never sending any <error> elements.
- Verify blacklists: Check this box to filter traffic based on blacklists.
- Competitive separation: The number of seconds to space ads with the same IAB categories
- This will allow you to ensure that multiple ads in the same category do not run back to back
- Example: 31
- Augmenters: A dropdown multi-select list of augmenters which will be executed for each request. Augmenters enrich the information we are passed at the time of the request with information from an additional source. This allows us to include additional information to ad partners to aid them in their bidding decisions. For example, an RSS scraper augmenter will allow us to retrieve the show name and forward it to ad partners.
- Id5: Uses the ID5 token associated with an IP address, if available, and populates first party data making it readable through macros as id5_token.
- This will allow you to pass the id5 token to advertisers, giving them greater information about the listener identity.
- Rss_scraper: Uses the first party data rss parameter to retrieve the show name. If the value is found, then the first party parameter show_name will be set.
- This will allow us to pass the show name to ad partners in cases where the show name is not included in your original data feed but is available in the RSS feed.
- Id5: Uses the ID5 token associated with an IP address, if available, and populates first party data making it readable through macros as id5_token.
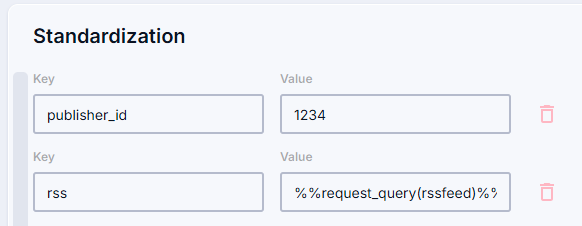
- Standardization: Used in cases when zones send traffic to SoundStack with non-standardized query parameters, or when certain fields are known and can be hardcoded
- This will allow you to map the non-standard query parameters to information that SoundStack can parse
- Key: The non-standard query parameter you are sending
- Value: The information that you want the key to send, this can be a fixed amount or one of the first party data macros we support
- Make sure to press “Add” after filling a key-value pair. If you don’t see the red bin icon, the key-value pair will not be saved.
- Examples:
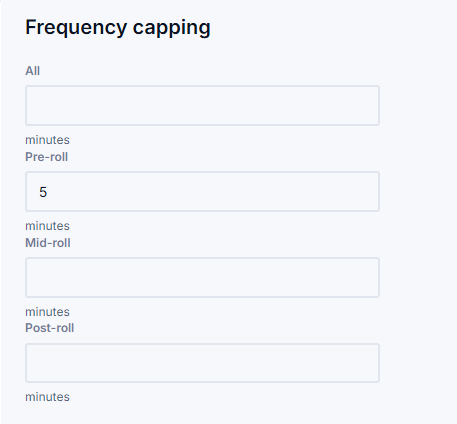
- Frequency capping: The number of minutes to wait before serving ads to the same IP/User Agent combination after an impression has been made
- This can be configured separately for each position (pre-roll, mid-roll, post-roll) or a single frequency cap for the entire zone
- Example capping pre-roll for 5 minutes:
- Mappings: A way of storing information for a zone which can then be accessed through macros to populate first party data or to forward certain fields to demand partners
For example, if you wanted to map show IDs to Adswizz zone IDs, you could use :
{
"publisherid_to_AdswizzPreroll": {
"abcd": "1234",
"efgh": "5678",
"ijkl": "91011"
},
"publisherid_to_AdswizzMidroll": {
"abcd": "1235",
"efgh": "5679",
"ijkl": "91012"
},
"publisherid_to_AdswizzPostroll": {
"abcd": "1236",
"efgh": "5680",
"ijkl": "91013"
}
}
Zone Groups
Once you have many individual inventory zones, you may find that you want to connect similar zones together instead of individually selecting multiple zones when creating a campaign or deal. Zone groups allow you to collect your individual inventory zones in a way that makes sense for your organization. For example, if you have 40 news stations across multiple areas, each with its own inventory zone, you could create a zone group called “all news stations” that contains all 40 inventory zones. Then, when you want to create a campaign that targets listeners for all of your news stations, you would target the campaign to the zone group instead of manually selecting 40 individual zones.
Creating a Zone Group
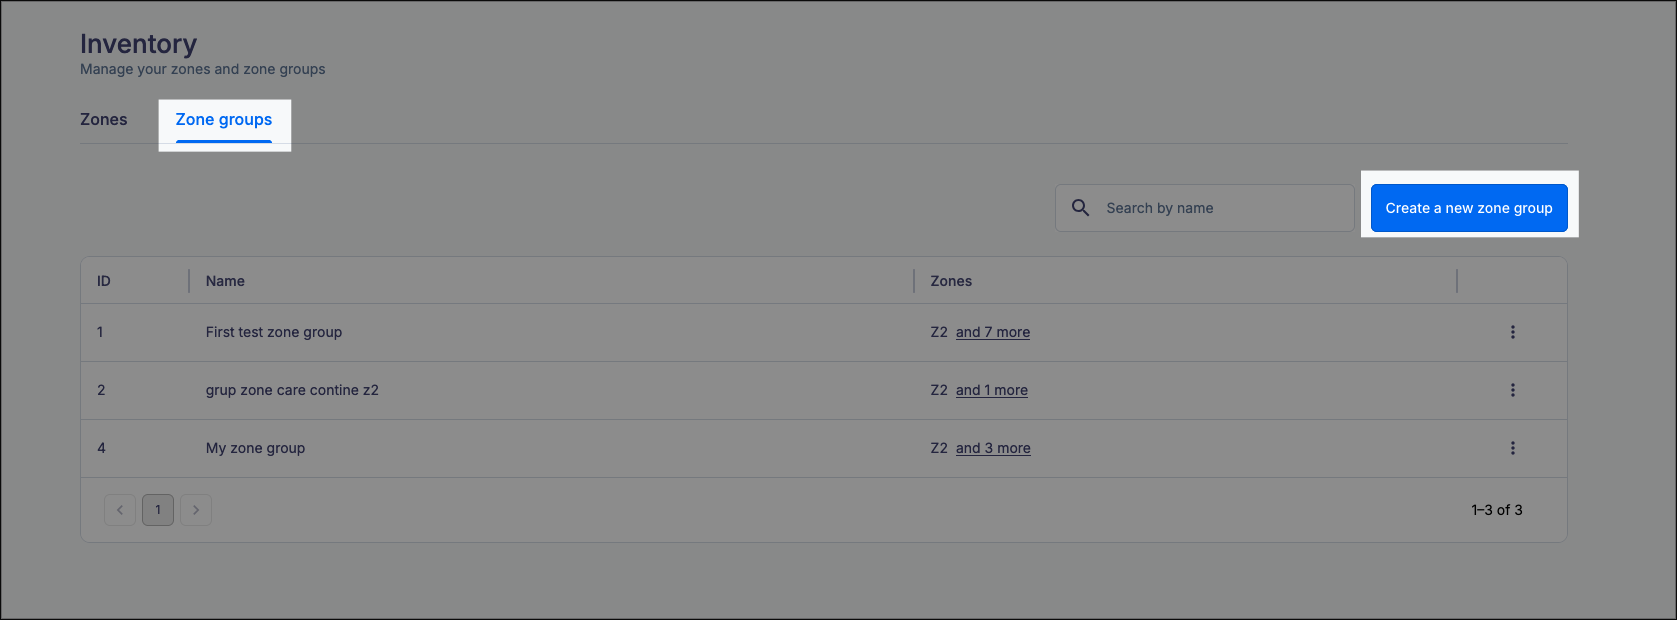
To create a new zone group, select the Zone groups tab and click the “Create a new zone group” button
This will open the Create a zone group screen.
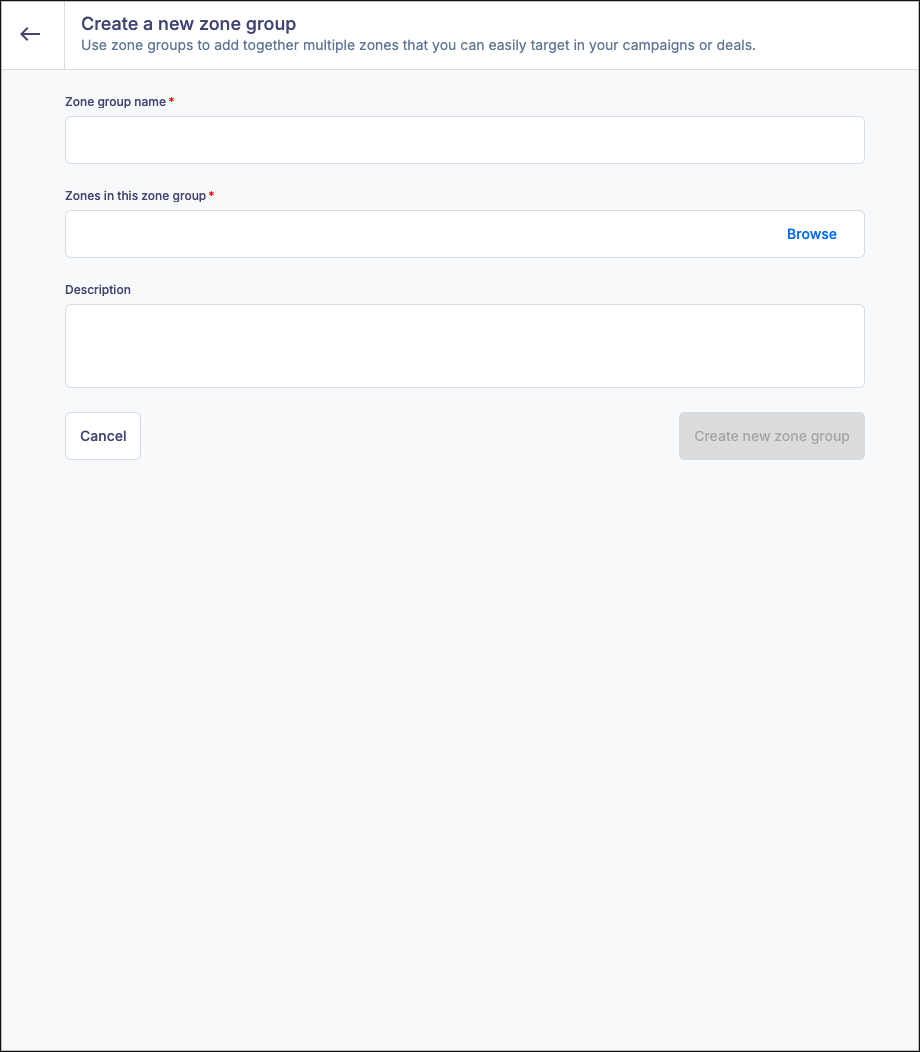
- Zone group name: This is the descriptive name that you can use to find and target this group later. For example: “All News Stations” or “Fiction Podcasts”
- Zones in this zone group: Click Browse to open the Select zones screen
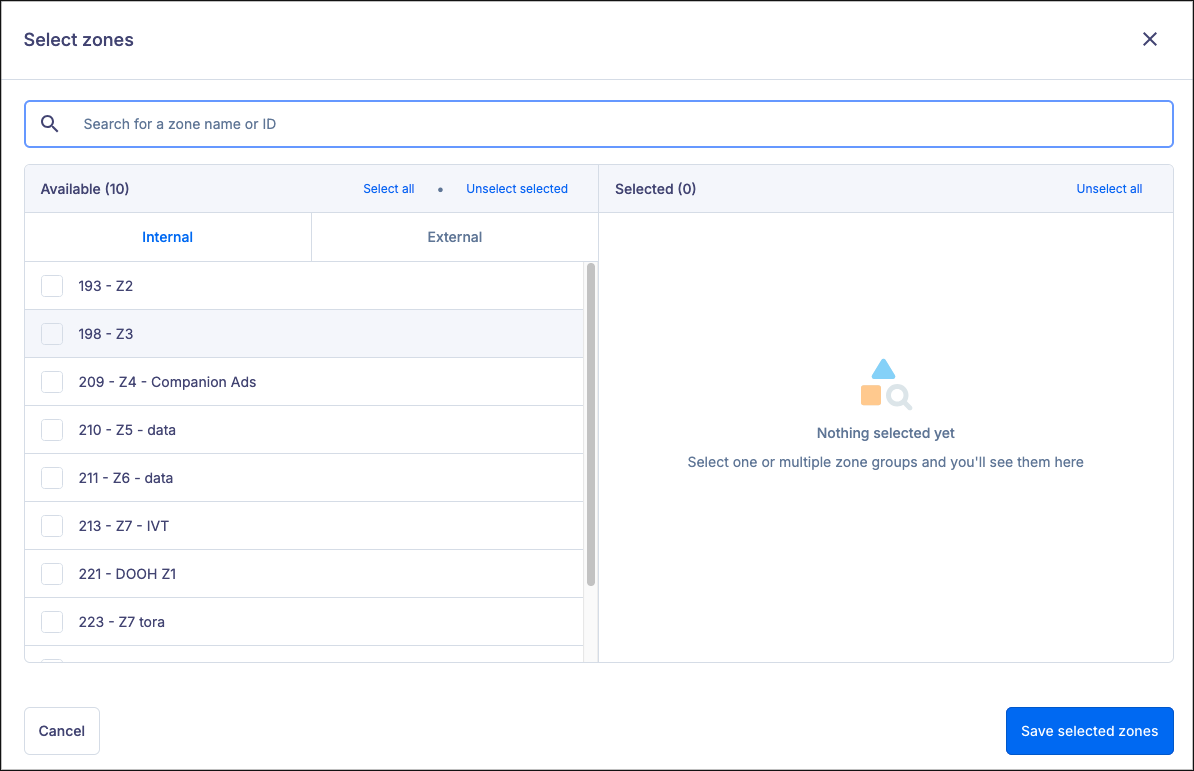
- This screen allows you to select or remove your internal and external inventory zones from the zone group
- Clicking a check box next to an inventory zone will add it to the selected window
- Clicking Select all will add all inventory zones to the selected window
- Clicking Unselect selected will remove the checks from any selected zone in the active tab and remove it from the selected window
- If you have internal and external zones selected for this group, clicking Unselect selected will only remove the checks from the active tab
- Clicking Unselect all will remove the checks from any selected zone and remove it from the selected window
- If you have internal and external zones selected for this group, clicking Unselect all will remove both internal and external zones with a single click
- Click Save selected zones to add any selected zone to the zone group
- Description: This optional field allows you to provide an explanation for the zone group and what it is used for.
Editing a Zone Group
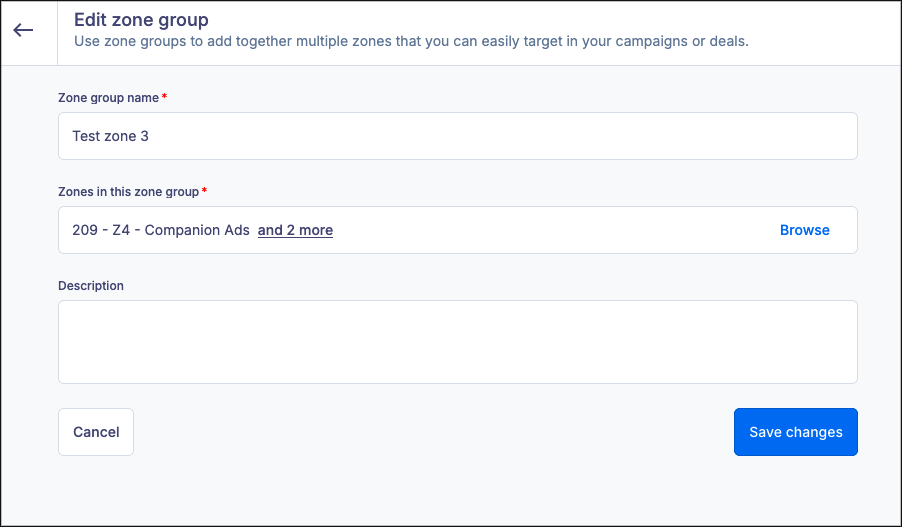
You can click on the name of any zone to open the Edit zone group window. You will notice that not all zone names are listed on the Zones in this zone group line. Clicking anywhere on the line will open the window to modify the zones included in the group.
Click Save changes to commit your edits or Cancel to discard your changes.